
Ham And Cheese Sliders Picnic – Delicious & Simple
Master the Art of Making Ham and Cheese Sliders Picnic
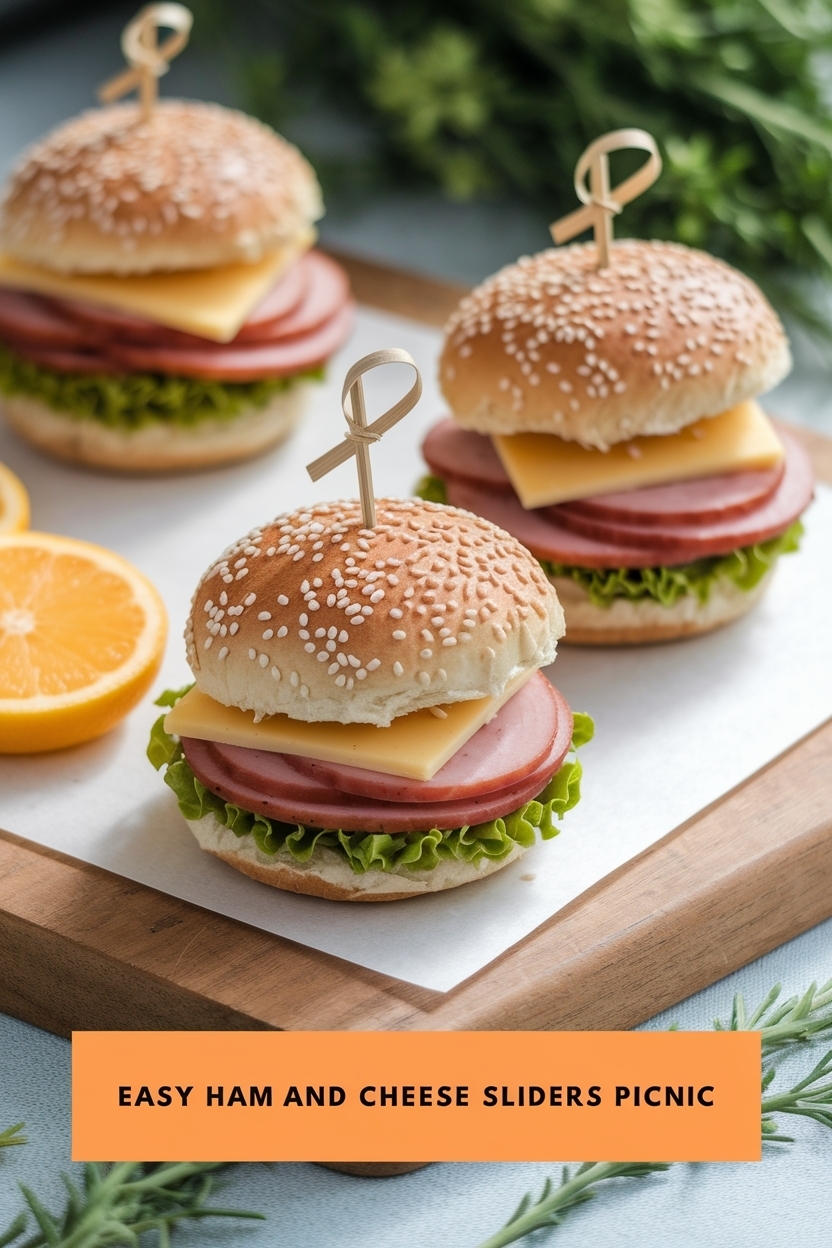
Looking for the perfect addition to your next picnic? These ham and cheese sliders are the ultimate crowd-pleasing sandwiches that are not only delicious but also incredibly easy to make! Pair them with a refreshing fruit salad or a zesty pasta salad for a well-rounded meal that everyone will love. Don’t forget to bring along some cookies for dessert to complete this delightful outdoor feast!
For perfectly melty ham and cheese sliders, brush the tops of the buns with melted butter mixed with garlic powder and herbs before baking, creating a flavorful golden crust that enhances every bite!
Gather Your Ingredients & Tools
| Ingredient | Quantity | Notes |
|---|---|---|
| Bread | 8 slices | Perfect for making sandwiches; choose whole grain for added nutrition. |
| Tomatoes | 2 medium | Fresh and juicy for sandwiches or a refreshing fruit salad. |
| Lettuce | 1 head | Adds crunch to sandwiches; can also be used in pasta salad. |
| Cheddar Cheese | 200g | Great for sandwiches and adds flavor to pasta salad. |
| Basil | 1 bunch | Enhances the flavor of pasta salad and pairs well with fruit salads. |
| Sugar | 1 cup | Essential for cookies and can sweeten fruit salad. |
| Flour | 2 cups | Basic ingredient for cookies; can be used for bread as well. |
Tips
- Swap out Swiss cheese for cheddar or pepper jack for a different flavor profile.
- Assemble the sliders and wrap them tightly in plastic wrap to keep them fresh until serving.
Essential tools: nonstick pan, medium pot, oven or air fryer, and a blender if needed.
These essentials keep the ham and cheese sliders picnic balanced and consistent every time.
How to Make Ham and Cheese Sliders Picnic Step by Step

- Preheat your oven to 350°F (175°C).
- Gather all ingredients: slider buns, ham, cheese, butter, mustard, and garlic powder.
- Slice the slider buns in half without separating them.
- Place the bottom half of the buns in a baking dish.
- Layer slices of ham evenly over the bottom half of the buns.
- Add a layer of cheese on top of the ham.
- Cover with the top half of the buns.
- In a small bowl, melt butter and mix in mustard and garlic powder.
- Brush the butter mixture generously over the tops of the buns.
- Cover the baking dish with aluminum foil.
- Bake in the preheated oven for 15 minutes.
- Remove the foil and bake for an additional 5-10 minutes until the tops are golden brown.
- Remove from the oven and let cool for a few minutes.
- Slice the sliders apart and pack them for your picnic.
Chef tip: Season in layers and adjust to taste.
Flavor & Texture Secrets
| Flavor Element | Ingredient | Role |
|---|---|---|
| Sweet | Chocolate Chips | Primary Ingredient for Cookies |
| Crisp | Romaine Lettuce | Base for Sandwiches |
| Zesty | Lemon Juice | Flavor Enhancer for Pasta Salad |
| Fresh | Mixed Berries | Main Ingredient for Fruit Salad |
- Add-ins: herbs, spices, citrus zest, and dressings.
This fiber-rich combo makes it both filling and nutritious.
How to Serve Ham and Cheese Sliders Picnic

- Meal prep friendly.
- Brunch-ready bowl.
- Family dinner crowd-pleaser.
| Occasion | Pairing Dish | Beverage |
|---|---|---|
| Birthday Celebration | Chocolate Cake | Prosecco |
| Romantic Dinner | Grilled Salmon | Sauvignon Blanc |
| Game Night | Buffalo Wings | Craft Beer |
Explore related ideas here: more recipes. This reinforces ham and cheese sliders picnic enjoyment.
Serving Size Adjustments
| Ingredient | x1 | x2 | x4 |
|---|---|---|---|
| Base Grain | 1 cup | 2 cups | 4 cups |
| Protein | 1 serving | 2 servings | 4 servings |
| Veggies | 2 cups | 4 cups | 8 cups |
Scaling preserves the nutrition balance of ham and cheese sliders picnic and its components (e.g., fiber/protein ratio). Try a batch cook for weeklong ease.
Allergy-Friendly & Diet Swaps
| Variant | Swap | Notes |
|---|---|---|
| Standard | As written | Balanced texture and flavor |
| Vegan | Use tofu or legumes | Plant protein emphasis |
| Gluten-Free | Use GF grains | Check labels for cross-contamination |
| Keto | Swap grains for greens | Keep fats moderate |
- Swap smartly to maintain structure.
- Adjust seasoning to fit each variant.
This ensures ham and cheese sliders picnic fits your dietary needs.
Troubleshooting: Common Mistakes to Avoid
- Issue: Sandwiches getting soggy — Fix: Use sturdy bread like ciabatta or sourdough and pack wet ingredients separately.
- Issue: Fruit salad turning brown too quickly — Fix: Toss fruits in lemon juice to slow down oxidation.
- Issue: Pasta salad lacking flavor — Fix: Add a dressing with herbs and spices and let marinate for an hour before serving.
- Issue: Cookies spreading too much while baking — Fix: Chill the dough for at least 30 minutes before baking to help them hold their shape.
Keep ham and cheese sliders picnic balanced with mindful timing and seasoning.
Nutritional Highlights
| Calories | ~450 |
| Protein | ~20g |
| Carbs | ~55g |
| Fat | ~15g |
| Fiber | ~12g |
| Key Nutrients | Iron, Vitamin C, Folate |
- Fiber-packed and satiating.
- Protein-rich for recovery.
- Balanced bowl for daily energy.
Dietitian tip: Keep the ham and cheese sliders picnic colorful and balanced for micronutrients.
Key Takeaways
- Main technique: build layers with ham and cheese sliders picnic.
- Nutritional benefit: emphasize sandwiches.
- Texture/taste: contrast crunchy and creamy elements.
- Serving flexibility: great for meal prep or sharing.
- Prep efficiency: use batch-cooked bases.
Faqs
- Q: What makes ham and cheese sliders the perfect sandwiches for a picnic?
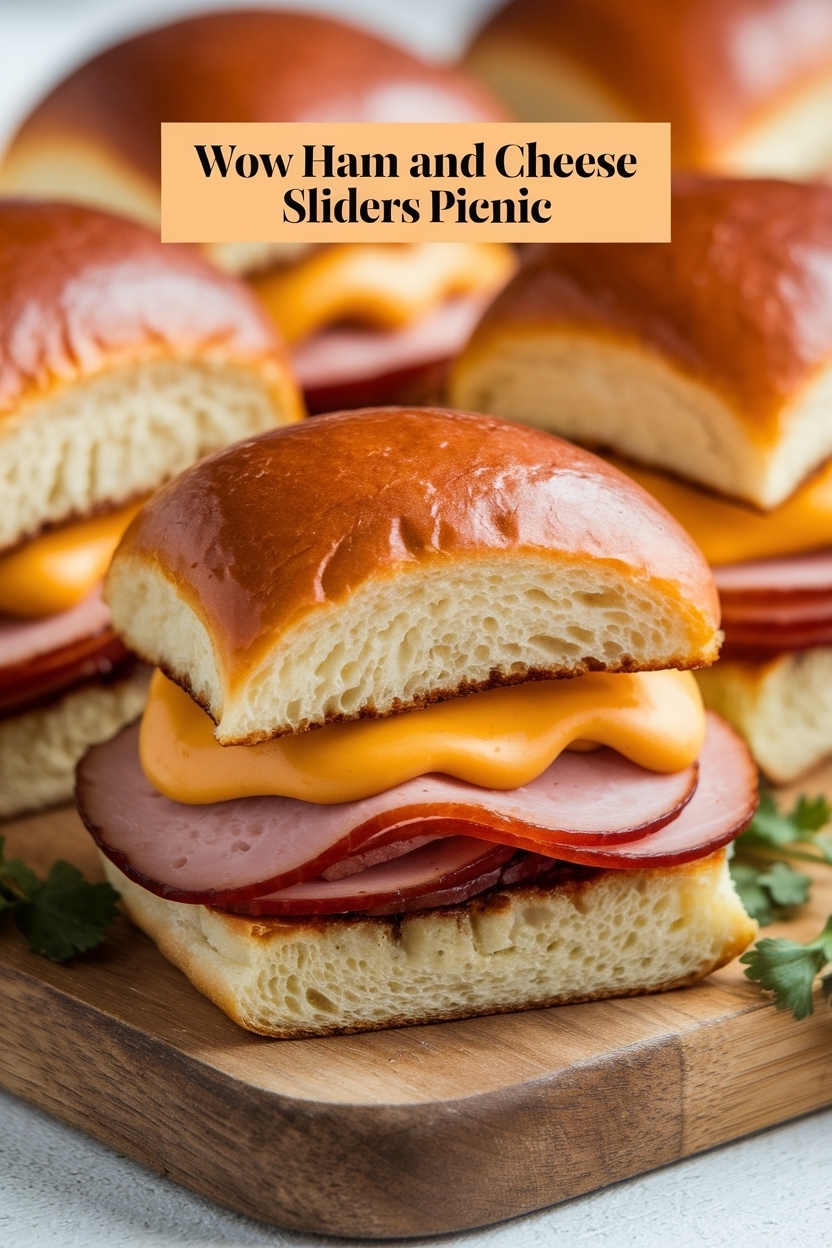
Ham and cheese sliders make for a perfect picnic sandwich, blending savory flavors with a delightful soft texture. These mini sandwiches are easy to prepare and pack, featuring layers of thinly sliced ham and melted cheese nestled between soft, fluffy rolls. You can elevate them by adding a touch of mustard or a slice of pickle, making them a crowd-pleasing option that is both portable and satisfying for outdoor gatherings.
- Q: What makes ham and cheese sliders an ideal picnic treat when paired with a refreshing fruit salad?
Indulge in a delightful picnic featuring ham and cheese sliders, perfectly complemented by a refreshing fruit salad. The savory, melty goodness of the sliders pairs wonderfully with the vibrant, sweet notes of seasonal fruits, creating a balanced meal that’s easy to pack and perfect for sharing under the sun.
- Q: What are some great picnic ideas to pair with ham and cheese sliders?
Ham and cheese sliders make for the perfect picnic treat, offering a delightful combination of savory flavors and easy portability. Pair these delicious mini sandwiches with a refreshing pasta salad, tossed with colorful vegetables and a tangy dressing, to create a well-rounded meal that is sure to please your picnic crowd. This combination not only satisfies hunger but also provides a variety of textures and tastes that elevate your outdoor dining experience.
- Q: What are the best treats to pack for a ham and cheese sliders picnic?
Ham and cheese sliders make for a delightful picnic treat, easy to prepare and perfect for sharing. Pair these savory bites with a side of freshly baked cookies for a sweet contrast, ensuring your outdoor gathering is both satisfying and memorable. The combination of warm, melty cheese and savory ham, alongside crispy, chewy cookies, creates a balanced picnic experience that everyone will enjoy!
- Q: What are the perfect sandwiches to pack for a picnic? A: Ham and cheese sliders are a delightful choice, offering a savory bite that’s easy to enjoy outdoors!
Ham and cheese sliders are the perfect picnic sandwich, offering a delightful combination of savory ham and melted cheese nestled between soft, fluffy rolls. These bite-sized treats are easy to prepare and transport, making them an ideal snack for outdoor gatherings. You can elevate them with a touch of mustard or a dash of honey for a sweet and tangy twist, ensuring they are a hit among friends and family at your next picnic!
Ham and Cheese Sliders Picnic |
|
|---|---|
| chickenrecipes.store | |
| Love it? Save this recipe for future delicious moments! | |
| Preparation time: 10 minutes | Cooking time: 15 minutes | |
Ingredients |
|
| Ingredient | Amount |
| Bread | 8 slices |
| Tomatoes | 2 medium |
| Lettuce | 1 head |
| Cheddar Cheese | 200g |
| Basil | 1 bunch |
| Sugar | 1 cup |
| Flour | 2 cups |
Directions |
|
| Step 1: Preheat your oven to 350°F (175°C). | |
| Step 2: Gather all ingredients: slider buns, ham, cheese, butter, mustard, and garlic powder. | |
| Step 3: Slice the slider buns in half without separating them. | |
| Step 4: Place the bottom half of the buns in a baking dish. | |
| Step 5: Layer slices of ham evenly over the bottom half of the buns. | |
| Step 6: Add a layer of cheese on top of the ham. | |
| Step 7: Cover with the top half of the buns. | |
| Step 8: In a small bowl, melt butter and mix in mustard and garlic powder. | |
| Step 9: Brush the butter mixture generously over the tops of the buns. | |
| Step 10: Cover the baking dish with aluminum foil. | |
| Step 11: Bake in the preheated oven for 15 minutes. | |
| Step 12: Remove the foil and bake for an additional 5-10 minutes until the tops are golden brown. | |
| Step 13: Remove from the oven and let cool for a few minutes. | |
| Step 14: Slice the sliders apart and pack them for your picnic. | |
Final Thoughts
ham and cheese sliders picnic brings comfort and flavor to every table. Save and share your twist with fresh ideas and a mindful balance.
Pin this ham and cheese sliders picnic and try your twist with cookies today.
